It’s time your kitchen scraps stopped haunting your trash can and started feeding your soil. A good compost bin can turn leftovers into black gold for your garden, fast. Let’s cut the guesswork and pick the best setup for your space, budget, and food scraps.
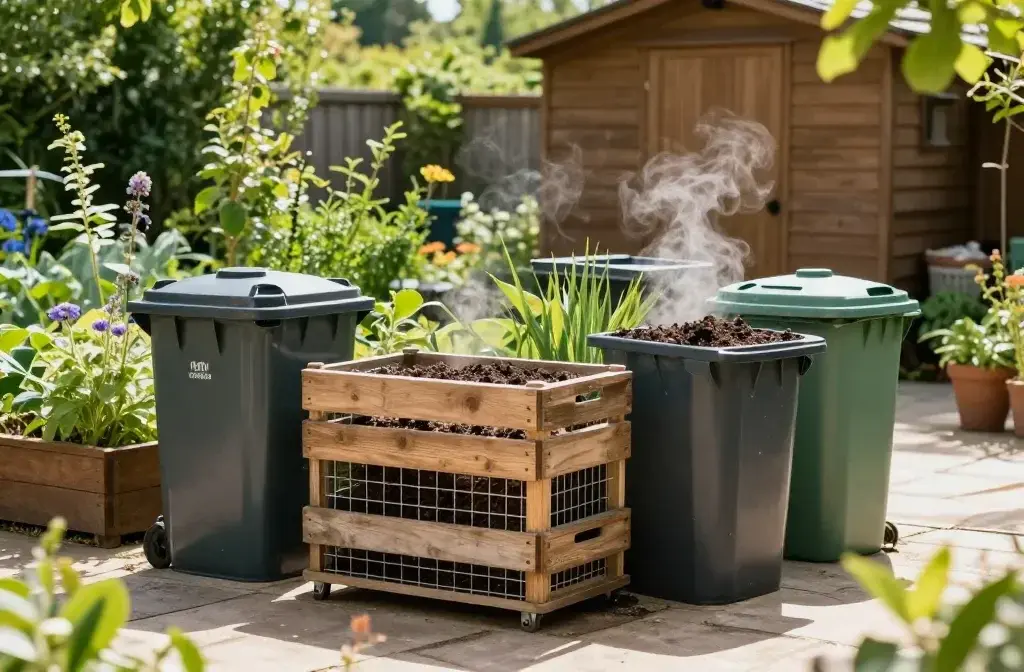
Know thy space: where your compost bin will live
Think about footprint, ventilation, and access. If you’ve got a tight patio, a small, locking tumbler might be your best friend. If you’ve got a big yard, a multi-bin system that cycles through stages could be worth the investment. Location matters: shade helps keep odors in check, but a hint of sun speeds up decomposition. Is it near the kitchen, or do you want to hide it behind the shed? Your call, just be realistic about daily trips to deposit scraps.
Types of bins: what fits your mess and your mood
There are several flavors of compost bins, each with pros and quirks.
- Tumbler bins — spin to mix, keep odors down, and speed up composting. Ideal for small spaces and those who hate turning piles by hand.
- Stationary multi-bin systems — three to four bins in a line for a real “jar of stew” vibe. Great for steady workflow: fill one, aerate another, harvest the third.
- Wire or pallet bins — cheap and cheerful, DIY-ready, but you’ll do the turning wrangle and may deal with critters if you don’t secure them well.
- Flat composters — shallow, easy access, but require more frequent turning and monitoring to avoid anaerobic pockets.
Which one actually speeds things up?
If you want fast, odor-controlled results, a tumbler or a properly managed multi-bin system wins. If your goal is frugal and beginner-friendly, a simple DIY wooden bin can do the job with a little effort and patience.
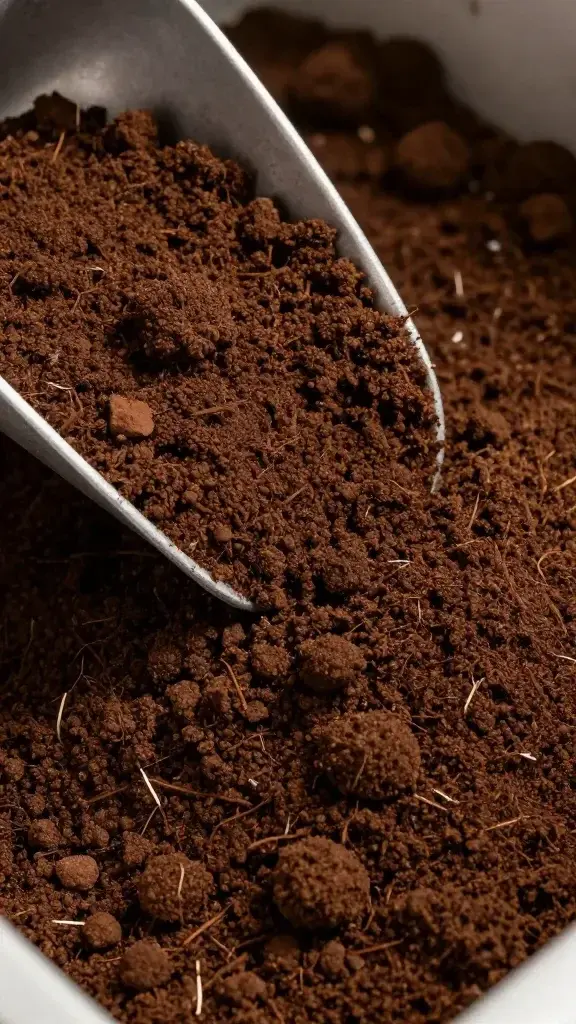
What goes in (and what definitely doesn’t)
Food scraps are gold when you give them the right treatment. But not everything should go in.
- Greens: fruit and veggie scraps, coffee grounds, tea bags (check for plastic if you care about that), fresh yard trimmings
- Browns: dried leaves, shredded cardboard, straw, paper towels
- Water: keep it damp, like a wrung-out sponge
What to skip to avoid smells, pests, or stalled piles: meat, dairy, fats, diseased plants, pet waste, and oily foods. FYI, a proper lid and aeration matter here. Odors often mask a lack of air or an overabundance of greens.
Air, moisture, and the magic of turning
Your compost pile needs a heartbeat: air, moisture, and nitrogen-rich greens. If it smells rotten, it’s usually begging for air. If it’s dry as a desert, give it a drink. Turning helps mix in oxygen and speeds up the breakdown.
How often should you turn?
– For fast results: turn every 2–3 days when you’re actively composting.
– For low-maintenance: turn once a week or whenever you add a new batch.
– If using a tumbler: you’ll usually rotate until you feel proud of yourself for a good mix.
Moisture: the Goldilocks zone
Aim for a damp sponge. Not dripping, not bone-dry. If your pile is steaming or smells awful, it’s too wet—add dry browns and turn. If it’s dusty and light, splash in some moisture and mix.
Maintenance: keeping it pleasant and productive
A few routines can keep your bin happy and your garden thanking you.
- Regular feeding schedule: add scraps and browns consistently so the pile stays balanced.
- Window for harvest: in 3–6 months you should have usable compost, depending on bin type and conditions.
- Odor control: lid on, air in, moisture balanced, and no spoiled food. If you smell something rotten, you probably need to turn and aerate.
What to do with the finished compost
– Mix it into garden beds to enrich soil structure.
– Use a top-dressing on lawns or as a potting mix amendment.
– Sift out chunks for a beginner-friendly “soil conditioner” that helps seedling roots breathe.
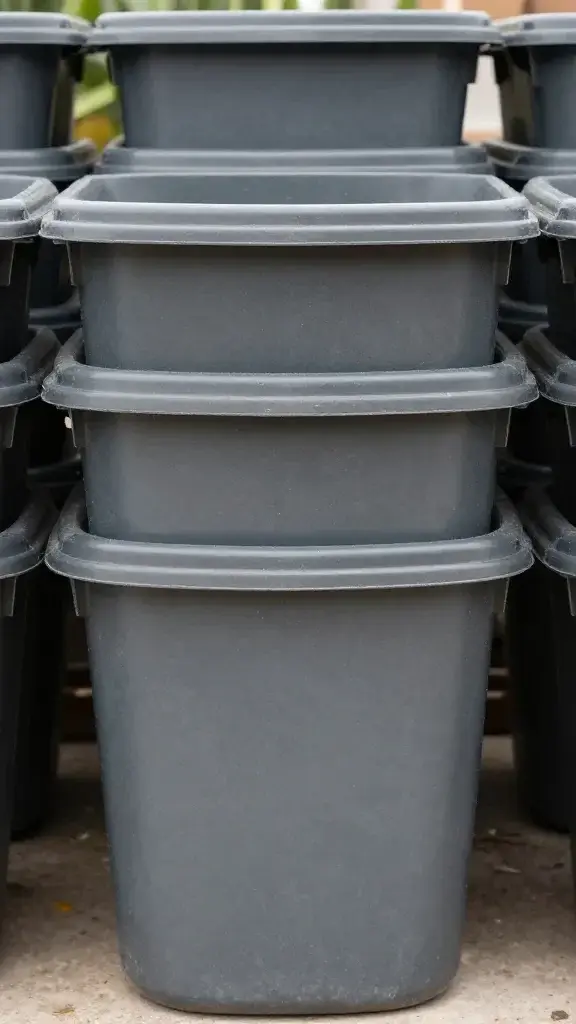
Sizing and budget: find your sweet spot
Size matters, but bigger isn’t always better. A bin that’s too small fills up fast and impossible to maintain. A bin that’s too large may be wasteful if you don’t generate enough scraps or yard waste.
- Small spaces: a 35–60 gallon tumbler or a compact three-bin starter set
- Average yards: 80–200 gallons with room to add a few browns and greens regularly
- Larger operations: consider a dedicated backyard composting setup with continuous feed and multiple stages
Estimate your weekly scrap output (in cups or pounds) and match it to a bin that can handle the load without overflowing. FYI, you’ll likely end up rotating through materials faster than you expect—especially during fall cleanup.
Security and pets: keep it tidy and safe
If you’ve got curious pets or persistent raccoons, invest in a bin with a secure lid and sturdy walls. Some bins come with locking latches or heavy-duty materials that deter critters. If you’re in a condo or shared space, a sealed bin on a balcony might be the most practical option. It’s not glamorous, but it beats smelly returns from the curb.
Putting it all together: a quick decision guide
I know, choices are overwhelming. Here’s a quick cheat sheet to match your vibe.
- Small space, low effort: a high-quality tumbler with a tight seal
- Medium yard, steady stream of scraps: a three-bin system with regular turning
- Low maintenance, DIY vibes: a simple wooden frame with a secure lid
- Budget-conscious, beginner-friendly: repurposed pallets or wire mesh with a simple cover
FAQ
Do I need a compost bin to make good compost?
Nope. You can build a pile directly in the ground, but bins help control pests, odors, and moisture. They also make turning and harvesting easier, which speeds things up. If you’ll be composting year-round in a cold climate, a bin that retains heat can matter a lot.
How long does it take to make finished compost?
Typical time ranges from 2–6 months with an actively managed system, and 6–12 months for a more relaxed setup. If you’re using a tumbler or steady flow system and keep it damp and aerated, you’ll shave weeks off the clock. IMO, fast compost comes down to air, moisture, and balance.
Can I compost mealtime scraps like coffee filters and eggshells?
Yes to most coffee grounds and eggshells. Coffee filters are fine if they’re paper; paper towels and tea bags are okay if they’re compostable. Check bag labels if you care about microplastics. Always avoid meat, dairy, and oily foods for most home setups unless you’re fully prepared for the smell and pests.
What if I live in an apartment or city with HOA rules?
Look for compact, odor-controlled bins designed for balconies or small spaces. Some cities have compost drop-off programs; joining one can be easier than wrestling with smells at home. FYI, many HOAs actually allow composting if you keep the area neat and use a sealed system.
How do I prevent pests and smells without spending a fortune?
Stack the odds in your favor: keep a lid, layer greens with browns, and turn regularly. A little dry carbon layer goes a long way. If you notice bugs, spray a bit of water with a splash of dish soap on the surface to disrupt the life cycle—then turn and cover. IMO, prevention beats a late-night trash-pweep session with a stink bomb.
Conclusion
Choosing the best compost bin isn’t about finding a miracle device; it’s about harmonizing space, routine, and patience. Start with your space and your typical scraps, add a lid-tight design for odor control, and pick a system that makes turning feel doable rather than dreaded. With a little consistency, you’ll turn kitchen kisses into garden bliss. Your plants will thank you, and your trash can will finally get a well-deserved makeover.
Leave a Reply