
The moment you harvest your first sun-warm tomato, you’ll wonder why you didn’t start this sooner. Garden baskets aren’t just for carrying produce—they’re part of the whole harvest ritual. Let’s turn your patch into a stylish, practical playground where veggies thrive and you actually enjoy the entire process.
What makes a garden basket actually useful
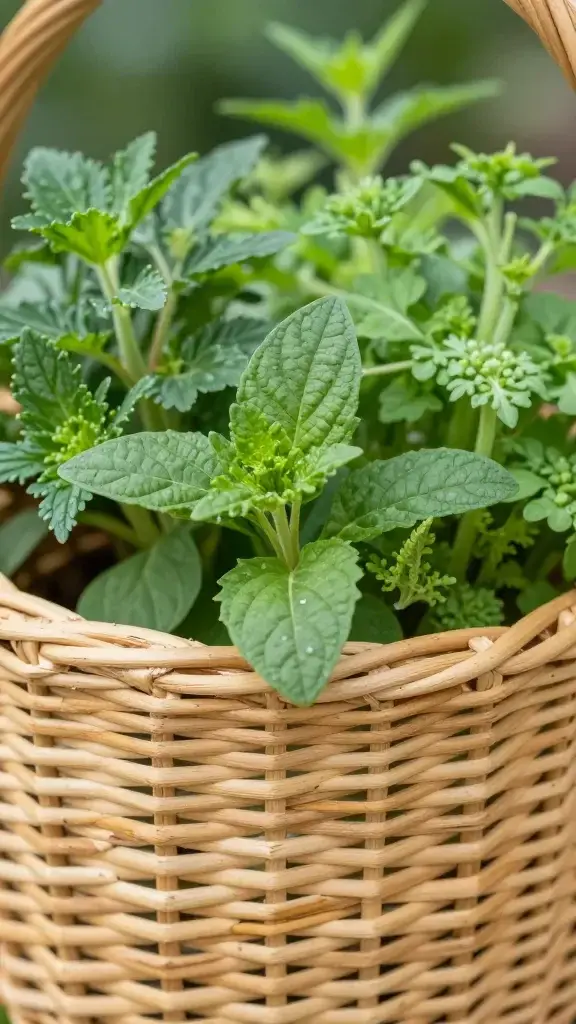
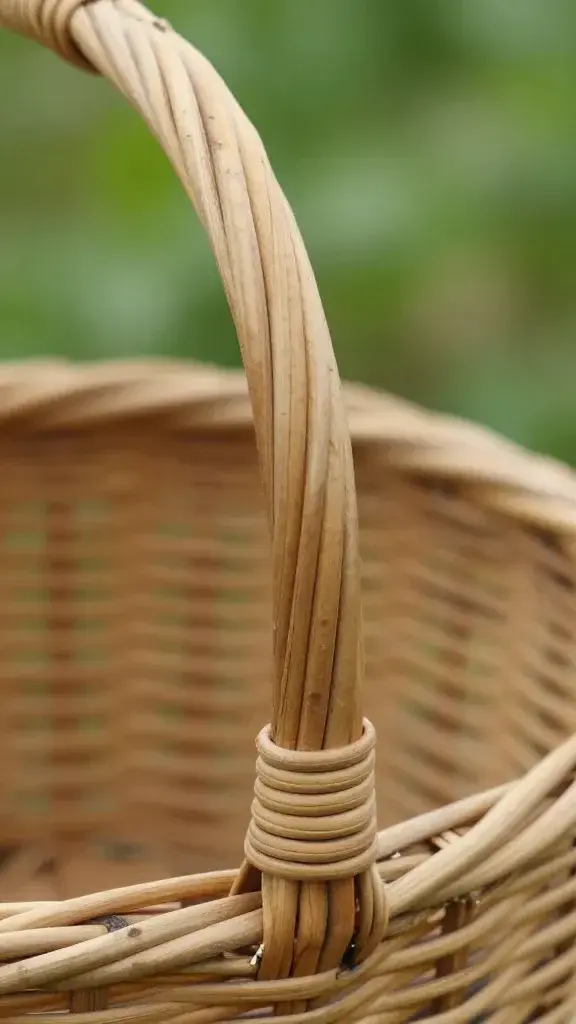
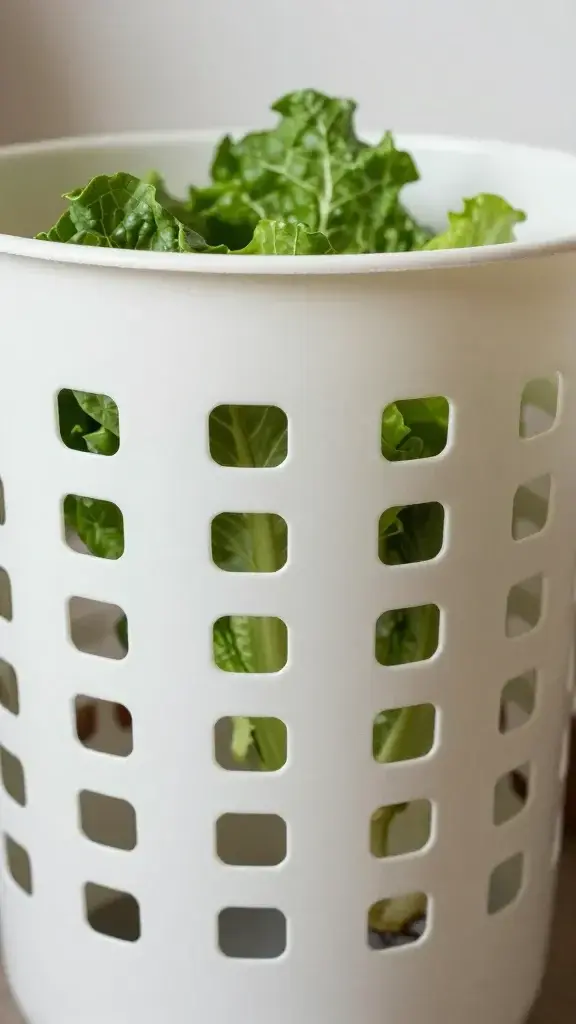
If you want your harvest to feel effortless, the right basket matters. It shouldn’t be a struggle to carry, and it shouldn’t bruise delicate greens. Think breathable, sturdy, and easy to clean. The best baskets are light, durable, and small enough to grab on a whim, but roomy enough to hold a decent harvest. FYI, you don’t have to chase couture baskets; a repurposed laundry hamper works wonders if it’s well-ventilated.
– Breathability is key: look for slots, weave, or mesh.
– Comfort first: handles should feel good in your grip.
– Cleanability: smooth surfaces make post-harvest cleanup a breeze.
Choosing baskets that fit your plants and your space
Not every basket plays nice with every vegetable. Large gourds and heavy zucchinis love sturdy totes; leafy greens appreciate lightweight carriers with good airflow. If you’re short on space, stackable or collapsible options save room for other garden essentials. Do you rotate baskets between plants to keep weight balanced and prevent bruising? Definitely.
Season-by-season basket lineup
– Spring: lightweight mesh baskets for peas, lettuce, herbs.
– Summer: medium totes for squash, tomatoes, beans.
– Fall: sturdier, deeper baskets for potatoes and root vegetables.
– Winter: dry-sack style bags for storage onions and garlic.
Harvest-friendly garden layouts that double as styling cues
Your garden can look intentional and still be functional. Think of the space as a living room for produce: comfy, inviting, and a little stylish. Use color accents, texture contrasts, and practical paths that make harvesting feel like a mini-adventure.
– Create “harvest lines” with low, open shelving or wheelbarrows that double as display pieces.
– Use color-blocked planting beds to cue what’s ready when.
– Add a few decorative baskets on plant stands or repurposed crates for quick grabs.
Pathways and access that save your back
– Keep at least 24 inches of aisle space for comfortable turning and bending.
– Place tall plants on the north side if you’re in the Northern Hemisphere to avoid shading shorter beds.
– Stage baskets at bench-height stations near the harvest zones to reduce heavy lifting.
Basket hacks: from foraged-style to ultra-practical
You don’t need a dedicated “garden gear closet” to get the best out of your baskets. Small tweaks can make a huge difference, and most of them are free or inexpensive.
– Fabric lining: line a tote with a lightweight, washable liner to protect delicate greens and make cleanup a breeze.
– Cedar or citrus sachets: throw a tiny sachet in the basket to deter pests and add a fresh scent—pretend you’re hosting a fancy garden party.
– Label bulbs, greens, and roots: a simple sticky note or chalkboard tag helps you sort as you harvest, so you don’t end up with rogue celery in your carrot stash.
– Invest in a “trellis tote”: a basket with a built-in frame or lid that helps you carry odd-shaped veggies without crushing them.
Styling your garden space with baskets (without turning it into a boutique showroom)
Baskets aren’t just tools; they’re decorative accents that tell a story about your garden. You want it to feel homey, not museum-grade. The trick is to mix form and function without letting the aesthetics get in the way of productivity.
– Use baskets of varying heights grouped at eye level for quick access.
– Choose earthy tones for a cohesive outdoor vibe, or soft pastels for a lighter, cottage-garden feel.
– Place a few baskets on a lightweight rolling cart for mobility—ticking both style and practicality.
– Bonus tip: hang a few smaller baskets on a fence or trellis for vertical interest and extra storage.
DIY touches that look deliberate
– Stencil simple plant labels on wooden lids or metal tags to match your basket style.
– Create a “harvest station” with a small table, a corner of shade cloth, and a couple of baskets to catch what’s ready in a minute.
– Use colored ribbons or twine to tie baskets to hooks or pegs in a way that feels intentional rather than chaotic.
What to harvest first and how to stage it for cooking
Harvest timing isn’t just about picking vegetables at peak flavor; it’s also about how you’ll stage that harvest for the kitchen. An organized harvest flow makes weeknight cooking faster and more fun.
– Greens first: pick outer leaves from lettuce and spinach to keep the plant producing.
– Tomatoes and cucumbers: harvest in the cool morning for the best flavor and texture.
– Root vegetables: pull when the tops start to yellow for a cleaner harvest.
– Stage greens in a breathable bag or liner so they don’t wilt on the way to the kitchen.
– Keep a “meal-prep” basket with items ready to wash, chop, or use for quick meals.
– FYI: don’t overcrowd baskets; airflow keeps produce fresh longer.
Seasonal rotation: keep your baskets working year-round
Your garden isn’t a one-hit wonder; it’s a rotating cast. The baskets should rotate with it. When one bed finishes, another bed begins, and your harvesting routine becomes a well-oiled machine.
– Spring greens turn into summer tomatoes; your baskets adapt as the crops shift.
– Store extra baskets in a dry spot so they’re ready to go when your planting calendar flips.
– For each season, assign a “favorite basket” for the main haul so you don’t waste time hunting for the perfect carrier.
FAQ
What size basket is best for a typical harvest?
The ideal size depends on your garden’s output and your back. A medium-to-large basket with a wide mouth works for most veggies, plus a smaller inner tote for delicate greens. If you’re often picking a lot at once, consider a second basket so you never have to stop mid-harvest.
How do I prevent Bruising in delicate greens?
Line your basket with a breathable liner, and don’t overload it. Layer greens loosely, with heavier items on the bottom. Harvest in the cool morning whenever possible to keep leaves crisp, and avoid squeezing stems too hard.
Can I use baskets indoors for storage and display?
Absolutely. Baskets add warmth to your kitchen or pantry. Use them to store fresh herbs, onions, or garlic, or as a rustic fruit bowl. Just keep them somewhere dry and away from direct sun to preserve color and texture.
How do I clean garden baskets without damaging them?
Rinse off soil with a gentle spray, then wipe with a damp cloth. If the basket is washable, use a mild soap and rinse thoroughly. Let it air-dry completely before storing to prevent mold.
What’s a quick setup for a harvest station?
Set up a small table or bench at plant height with a few baskets, a clean towel, a knife or clippers, a water bowl, and a trash bin or compost bucket. Keep a small spray bottle for a quick rinse and a sign to remind you what’s ready to pick.
Conclusion
Harvest season is here, and your garden deserves to look as good as it tastes. With the right baskets, a smart layout, and a dash of style, you’ll make every harvest feel celebratory rather than chaotic. So grab a sturdy, breathable basket, tune up your harvest station, and start turning your garden into a living, growing showplace that’s as practical as it is pretty. IMO, the first bite will taste better knowing you planned it this well. Happy picking, friend!
Leave a Reply